We put a spicy twist on one of the hottest backyard barbecue crazes of 2022. Smoked shotgun shells are quick, easy to make, and perfect as an appetizer or a main course.
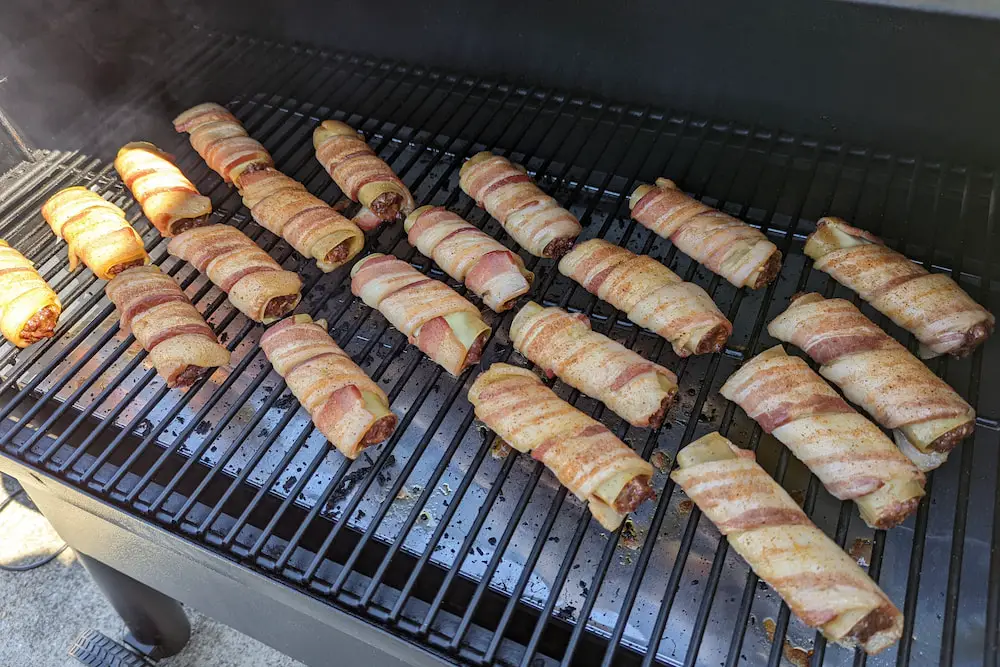
Shotgun shells. This backyard BBQ treat may have a peculiar name but the title is fitting because these bacon-wrapped, stuffed manicotti shells do slightly resemble, well, shotgun shells. Where the name originated is a mystery to me. Still, this wildly popular finger food has become an internet craze over the summer for thousands of pitmasters, professional and amateur alike.
Shotgun shells aren’t very different from traditional manicotti in the sense that you stuff the shells with your filling of choice. Where the BBQ favorite departs from tradition is the way that they are cooked and most importantly that they are wrapped with bacon. Shotgun shells can be cooked in the oven but you’d be doing yourself a disservice if you didn’t fire up your smoker and bring some delicious smoke flavor to the party.
Once you stuff your manicotti and wrap each one with bacon, you can throw them on a 225-250 degree smoker and let them ride for just an hour. After that, tradition would have you crank up the temp to 350 for 10-15 minutes to crisp up that bacon. Most recipes call to finish the shotgun shells with the BBQ sauce of your choice to create a beautiful, candied glaze to complement the savory and salty flavors of the stuffed manicotti and bacon. Check out Meat Church’s Matt Pittman as he makes “traditional” smoked shotgun shells and then, I’ll show you how to spice these up with our version of the fan favorite.
Meat Church Smoked Shotgun Shells
Pepper Shots: A spicy twist on Shotgun Shells
When I first saw the internet going crazy over shotgun shells, my mind immediately went to one of my family’s favorite fusion dishes. Chorizo manicotti is my take on Mex-Italia fusion that incorporates spicy chorizo and replaces the traditional marinara with red enchilada sauce. The dish has been such a hit, I decided to take the twist to the Traeger and see if I could duplicate my success by bringing the spicy twist to a batch of shotgun shells.
Since these little smoked snackers are meant to be spicy, I decided that Pepper Shots was a more fitting name than plain old shotgun shells. Even more so because pepper shot was a term we used growing up on the farm. Pepper shot was a non-lethal shotgun shell filled with, you guessed it, pepper and rock salt. We won’t go into the details of how that kind of pepper shot is used but needless to say, it’s a perfect fit for this Mexican twist on Smoked Shotgun Shells.
My first attempt at this recipe was good but unfortunately, I miscalculated my seasonings and the filling came out a little too bland for my tastes. Thankfully, a little tweaking here and there delivered a much better product the next go round. You could season your shotgun shells however you like but I wanted to try something that would be quick, easy, and always consistent because these Pepper Shots will be a sure-fire hit at parties and backyard BBQs. I want to be able to whip them up in large quantities and know that my finished product will be spot on every single time.
For a meal-sized batch of Pepper Shots, you’ll need enough filling to stuff 20-24 manicotti shells. You can use whatever type of manicotti you prefer but I’m fond of the Private Selection brand from Kroger. The Teflon-cut shells are smooth on the outside and slightly more narrow than traditional manicotti. I find that they make the perfect-sized vessels for filling and wrapping with bacon. They also tend to absorb moisture from the meat filling better than other types of pasta.
The Filling
For the filling, I used one pound of ground beef and one pound of ground chorizo. Chorizo contains a relatively high-fat content (20-25%) so to offset, I find it best to use ground beef that’s at least 90% lean. If you fancy something a bit milder, you can always substitute the chorizo with ground pork or Italian sausage. If you go with ground pork, you’ll want to adjust your seasoning accordingly as the chorizo brings a fair amount of flavor to the party.
For seasoning, you can make your own or you can use a premade blend. For the sake of uniformity and ease, I opted for Old El Paso Hot and Spicy Taco Seasoning. The great part about using prepackaged taco or enchilada seasoning is that you know it’s generally one packet per pound of meat. Easy, peasy. Once you throw together your ground beef, chorizo, and taco seasoning, all that’s left to do is add a little enchilada sauce and shred in some pepper jack cheese. Yes, you can technically use packaged, shredded cheese but it’s just not the same. Do yourself a favor and take a few minutes to shred up some quality pepper jack or hot pepper cheese. You’ll be glad you did.
Smoking ground meat doesn’t take very long but that doesn’t mean that you can’t get a fair amount of smoke flavor in this dish. Since we’re using hardwood smoked bacon and soft pasta, the Pepper Shots will absorb a good deal of smoke flavor in the short amount of time they’re in the smoker. Any wood will work for this dish but since it doesn’t use the traditional BBQ sauce glaze, I chose to go with Hickory because sweeter woods just don’t seem to fit with the spicy flavor profiles going on here. Lately, Bear Mountain has been my go-to for pellets because they produce a great amount of good smoke(much more so than Traeger’s pellets) and they cost half of many other name-brand pellets. They’re 100% all-natural and I love them. Our local Academy Sports always has a good variety of Bear Mountain for a mere $10 a bag.
Once you’ve mixed up your filling, it’s time to turn your attention to the manicotti. Since this recipe calls for uncooked pasta, it’s a good idea to prep your shotgun shells at least four hours before you plan on cooking them. Why? Well, the pasta needs some time to absorb some of the moisture from the filling. This will ensure that the final product comes out with a perfect, fully-cooked pasta texture. If you don’t give the manicotti time to chill in the fridge, it’s going to turn out crunchy and I don’t mean al dente. I mean crunchy. If If you don’t have enough time to let it sit before smoking, you can parboil the manicotti for 2-3 minutes before you fill it.
Stuffing the manicotti with your filling can be done by hand or you can get a little fancy with a piping bag. If you parboiled your pasta, a piping bag is going to be a good choice because the manicotti will tend to tear if you jam the filling in by hand. You can pick up disposable piping bags for next to nothing at your local mega mart or grocery store. I like these Wilton brand piping bags from Walmart because you can cut the tip of the bag to fit your specific use case.
Don’t have a piping bag? No problem. Just grab a gallon zip-top bag and cut one of the corners off. You’ll want the hole to be just slightly smaller than the inside diameter of your manicotti. Fill your shell and make sure you don’t leave any air pockets. Any spots that lack filling will tend to get dry and crunchy during the smoking process. Don’t worry about overfilling the shells. Any meat that hangs out of the end is going to crisp up and add some tasty texture to your pepper shots.
Bacon Wrap
When choosing the bacon you’re going to use for your pepper shots, you’ll want to find something that’s a standard thickness. This makes it easier to stretch the bacon should you need to do so to fully cover the shell. Thick-cut bacon has a habit of snapping in half when you attempt to pull it and it will take longer to cook. Again, I went with Hickory smoked but you can use whatever type of bacon you like. You could even use pork belly and season it up with your blend of spices.
When wrapping your shells, start on one end and wrap them with the bacon overlapping ever so slightly. If your bacon slice isn’t long enough to cover the entire shell, simply take it back off and gently stretch it to the length you need. It’s also a good idea to set your bacon out a few minutes before wrapping your shells. This will make the bacon easier to work with. Wrap all of your shells and place them on a sheet pan lined with wax or parchment paper.
Smoke ‘Em
If you stuffed your pepper shots ahead of time, it’s time to fire up the smoker. If you’re making them right now, get that smoke rolling while you’re wrapping the bacon around the manicotti. I did these on my Traeger Pro 34 and as I mentioned, used Bear Mountain Hickory wood pellets. Whatever smoker you’re using, get it dialed in at 225°and turn on Super Smoke if you have the option. (More smoke!!!) Once you’re up to temp, place your Pepper Shots on the bottom grate of your smoker and shut the lid. You’re going to let these ride for thirty minutes and then, give them a turn before cooking for another thirty minutes.
Crisp and Sear
At this point, your shotgun shell filling should be fully cooked. If you’re weary about meat temps, feel free to check a couple of the shells with a good pen thermometer like the ThermoPro TP19. If you’re at 160°or higher, you are good to go and ready to move on to the last two steps. Crank your smoker up to 350°and close the lid. After five minutes, give them a turn and let them cook for five more minutes or until the bacon is nice and crispy.
Pro Tip: Most grills and smokers have hot spots. Keep an eye on your Pepper Shots. If some appear to be cooking faster than others, rotate them half way through the cook.
How you finish your Pepper Shots depends on how you plan on serving them. I did this batch as finger foods so I took my reserve enchilada sauce and basted the shells directly on the smoker. Baste and smoke for 3-5 minutes then flip them over, baste the other side and finish for 3-5 minutes more. Take them off the heat and serve immediately. I topped mine with sliced jalapenos and garnished them with the remaining pepper jack cheese.

If you’re looking to make this your main course, it’s time to grab a foil half pan. Toss your Pepper Shots in the pan, pour the remainder of the enchilada sauce over top of them, toss in some jalapenos, and throw them back on the smoker for 10-15 minutes. Remove the pan and top with the rest of your pepper jack cheese and let them set for five minutes before serving.
This Mex-Italian fusion pairs well with some freshly made smoked Pico de Gallo or some crème fraîche. Hope you give this new twist on smoked shotgun shells a try. Try different ingredients. Experiment. Let us know in the comments what you discover. Who knows? You may stumble upon the next big backyard BBQ craze. Whatever you do, stay smokey.
Recipe Card
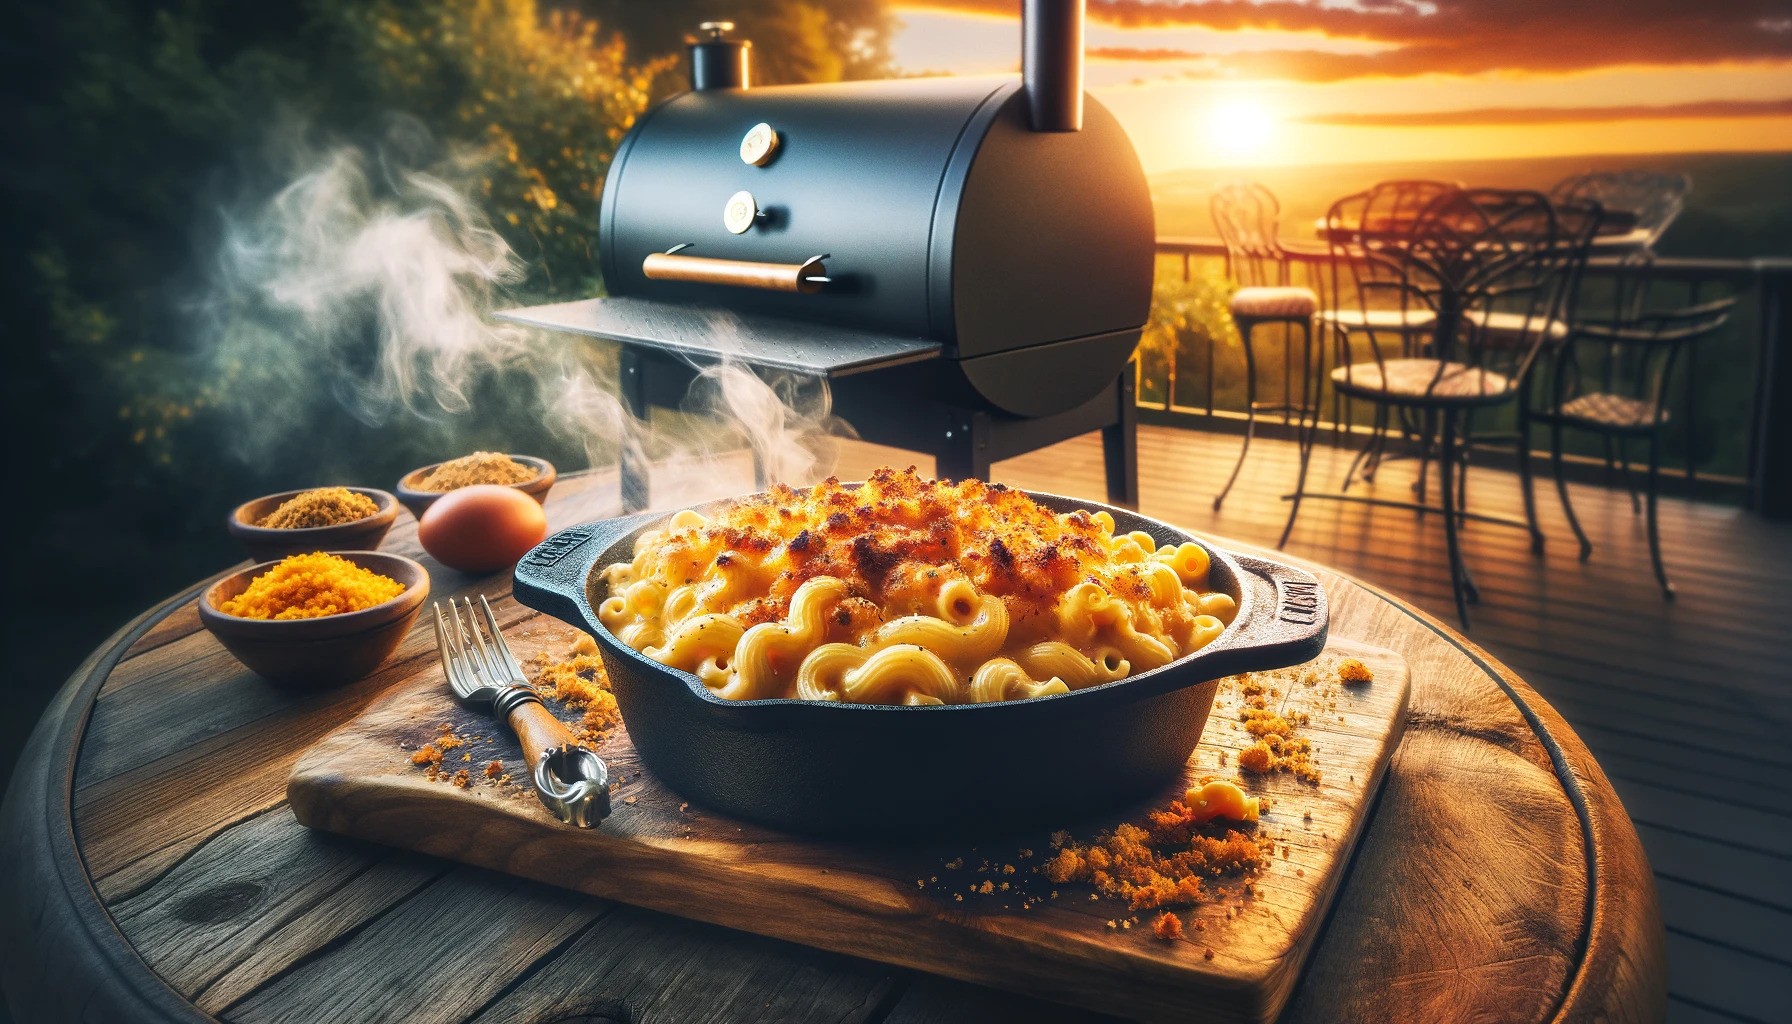

“Smokin’ Sage” Smoked Mac and Cheese: Spicy, Southwest Twist
Description
Sage, chiles, and fresh herbs – blended with the comforting richness of classic mac and cheese.
What you'll need
Instructions
-
Preheat your smoker to 225°F (107°C). If you don’t have a smoker, you can preheat your oven to 350°F (175°C).
-
Cook the macaroni according to package instructions until al dente. Drain and set aside.
-
In a large pot over medium heat, melt 2 tablespoons of butter. Whisk in the flour and cook for 1 minute, stirring constantly. Slowly whisk in the warmed milk, increase heat to medium-high, and bring to a simmer. Cook, stirring frequently, until the sauce thickens slightly, about 3-5 minutes.
-
Remove from heat and stir in the cheddar, Monterey Jack, and Parmesan cheeses until melted and smooth. Season with salt, pepper, smoked paprika, and cumin.
-
Fold in the cooked macaroni, chopped herbs, and optional jalapeño.
-
Pour the mixture into a greased cast-iron skillet or oven-safe dish (a baking dish or casserole works well). Dot the top with the remaining 2 tablespoons of butter.
-
Place the dish on your smoker or in the preheated oven and smoke/bake for 30-35 minutes, or until golden brown and bubbly on top. If you like the crunch of breaded topping, add some panko during the last 10 minutes of cooking.
-
Let the mac and cheese cool slightly before serving. Garnish with additional chopped herbs, if desired.
-
For some added pop, toss in some freshly smoked, cubed pork belly or thick-cut bacon. YUM!